Skip to content

Editors run on coffee and cookies.

Ours are the stats, ads and better-emails kind. Sorry, no chocolate chips. Privacy policy

Statistics

Google Analytics counts visits and sales.

Advertising

Google may use your visits for ads.

Personalised emails

Our emails follow what you look at here.

Adobe Premiere Pro Adobe Premiere Pro

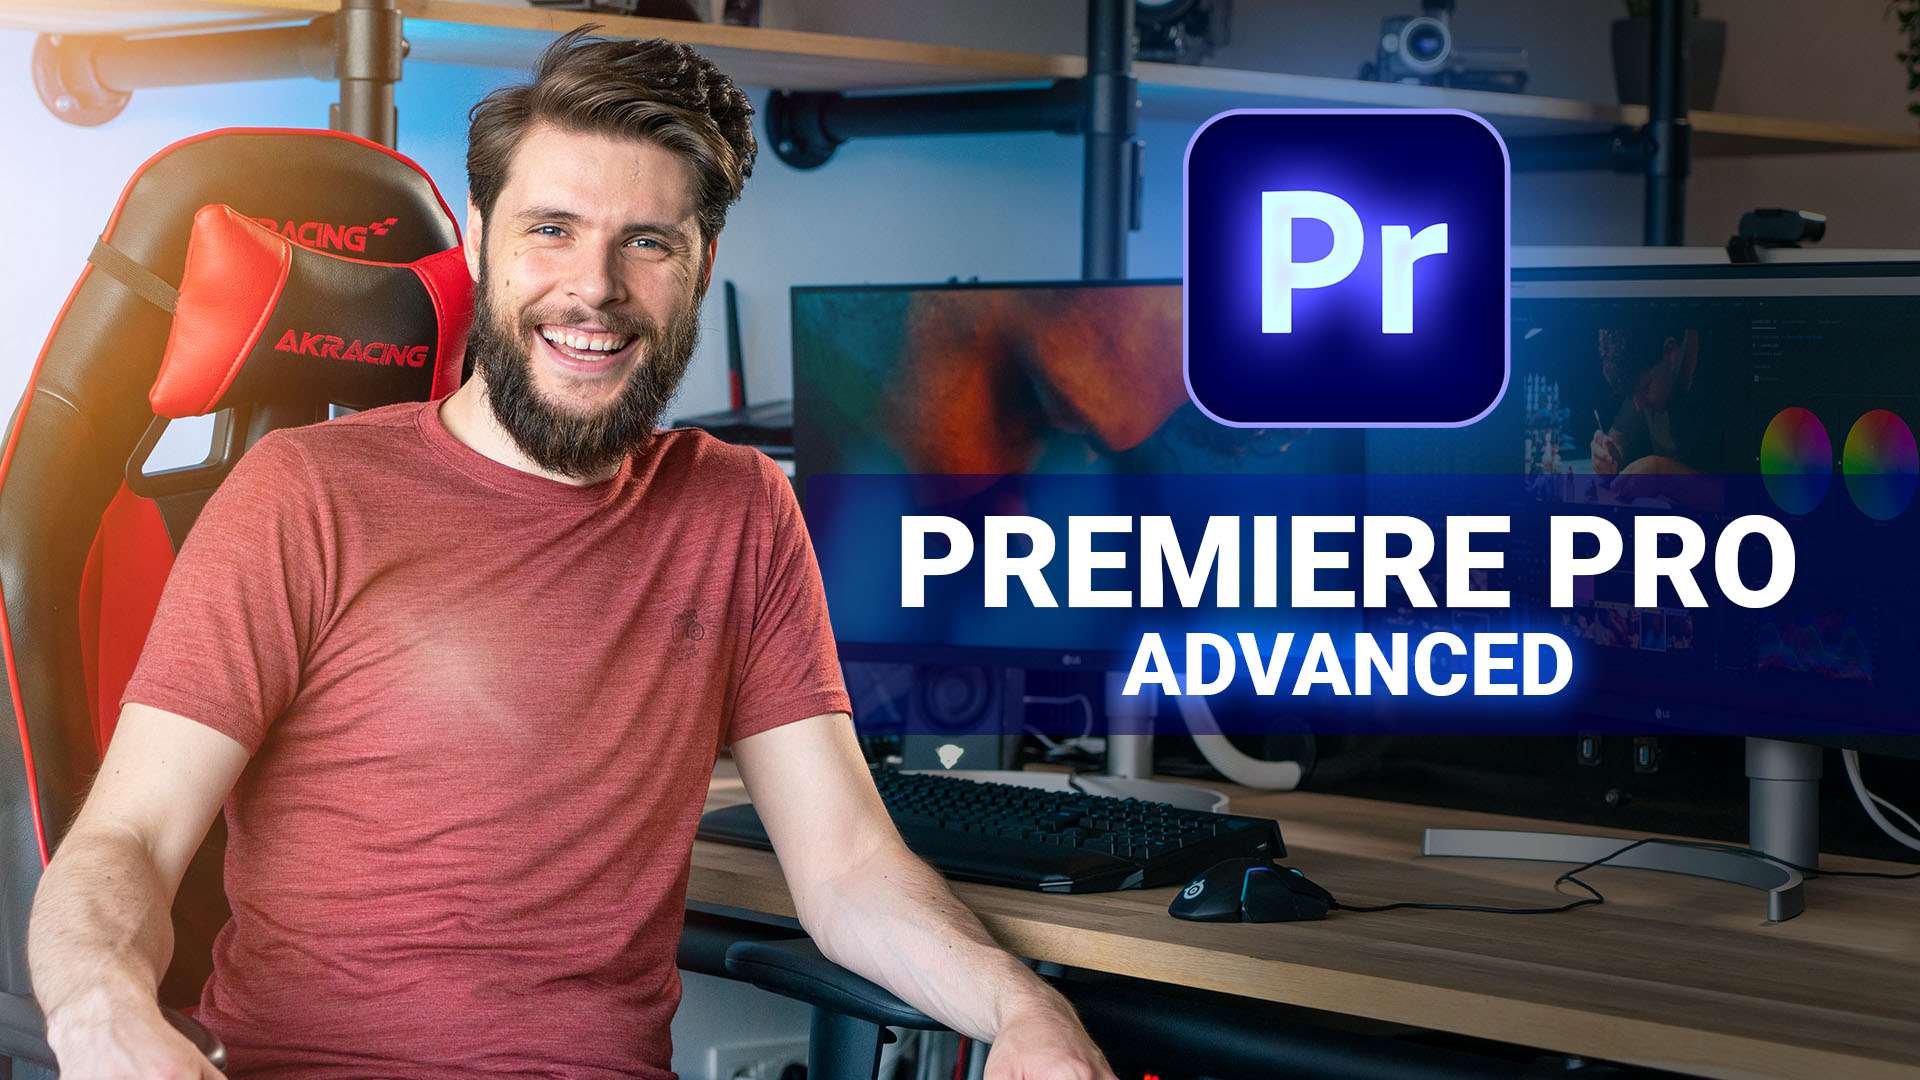
Video Editing with Adobe Premiere Pro for Advanced Users

Take your video editing skills to the next level with the most complete Adobe Premiere Pro class for advanced users. Learn advanced editing techniques, 2D animations, audio enhancing and color corrections.
By Jordy Vandeput ★ 4.8 (233 reviews) 34 lessons 3h 35m Project files included
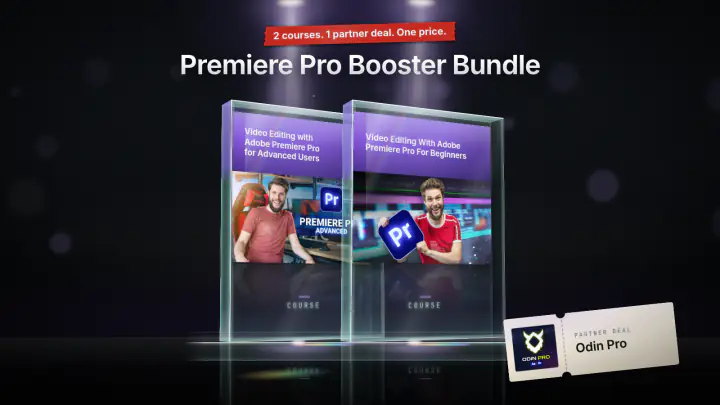
Save 52% Or take the bundle Premiere Pro Booster Bundle 2 courses · 1 partner deal $139 $292.35 total value See the bundle
Trailer Cinecom
What you'll learn
  • Video editing workflow techniques and advanced settings
  • Create custom presets, templates and transitions
  • Fixing and enhancing audio
  • Mask videos, stabilize footage and time-remapping
  • Color correct and grade your videos
  • Create captions and subtitles
About this course

This course teaches the advanced tools of Adobe Premiere Pro: multi-camera editing, animated graphics and templates, time remapping, masking and mask tracking, color correction, audio repair and mixing, and export settings. It is for editors who already know the basics of Premiere Pro (for example from the Cinecom beginner class) and want to know the rest of the program.

What you'll learn in this advanced Premiere Pro course

  • Editing workflow and settings: sequence settings and why the DNxHR presets work for most projects, nested sequences at the right resolution, set to frame size versus scale to frame size, pancake editing, custom keyboard shortcuts and layouts you can move to another computer, track targeting, timeline presets, scratch disks and the GPU renderer.
  • Multi-camera and sync: building a multi-camera source sequence from in points, cutting live between angles, handling cameras with several clips, and merging separate audio and video by waveform.
  • Captions: open versus closed captions, styling captions, exporting a SubRip file and keeping subtitles in several languages.
  • Animation and graphics: bezier keyframes with ease in and ease out, the Essential Graphics panel (groups, masks with text, rolling credits, pinning), custom animation presets, motion graphics templates, track matte key transitions, and the Transform effect for motion blur.
  • Footage fixes and effects: Warp Stabilizer (also to add handheld motion to a static shot), time remapping speed ramps, optical flow slow motion, masks that clone an object, and a tracked mask on a face.
  • Color: matching two cameras with the Lumetri color wheels, building a teal and orange look, and cleaning it up with HSL secondary.
  • Dynamic Link: sending a clip to After Effects and audio to Audition and back.
  • Audio: Essential Sound repair tools, automatic ducking, mixing with the Audio Track Mixer, sound effects, room tone and reverb.
  • Delivery: preview render codecs, proxies, H.264 bitrates, Apple ProRes 422 HQ and ProRes 4444 with alpha, queueing in Media Encoder, and downgrading a project to an older Premiere Pro version.

How the course is built

There are 34 lessons with a total runtime of 3 hours 36 minutes. Lessons run from under 2 minutes to about 13 minutes, so you can look up a single technique without watching the rest.

The lessons share one set of material: an interview with Yannick shot with three cameras, b-roll of him painting miniatures, sound effects and music. You can download all of it as project files (a 2428.5 MB zip) and follow along in the same projects. Jordy says you may share your own edits of this media on YouTube, as long as you do not use them commercially.

Who this course is for

It is for video editors who know the basics of Premiere Pro and can do basic edits. If you have watched the Cinecom beginner class for Premiere Pro, Jordy says you are the perfect fit. If you have never used the program, start with the basics first.

The color and audio lessons are practical, not exhaustive. Jordy points to a separate Cinecom class for a full course on Lumetri color grading.

What you need

You need Adobe Premiere Pro. The lessons were recorded in Premiere Pro 2020. The Dynamic Link lesson also shows Adobe After Effects and Adobe Audition, and the captions lesson uses the free VLC media player to check subtitle files.

Lessons
34 lessons 3h 35m 3 free previews
A short welcome from Jordy with the road map: multi-camera editing, color correction, audio mixing, 2D animation and bezier keyframes. He also states the one prerequisite, basic Premiere Pro knowledge, such as from the beginner class.
A refresher edit with Yannick's interview and miniature b-roll: importing folders, a DNxHR Ultra HD sequence, markers versus label colors, and an adjustment layer with Black and White and an animated Crop for a cinema scope bar.
Why a sequence has a codec, and how it controls preview renders. Covers picking a DNxHR preset, matching the sequence to your delivery size, and setting a custom resolution on a nested sequence to keep 5K footage.
The shortcuts worth learning: ripple trim delete (Q and W), Ctrl+K remapped to C for cuts, track height, G for audio gain, Ctrl+R for speed, the rate stretch tool, and remapping full screen to Ctrl+F.
Building a custom keyboard layout and moving it between computers. Jordy saves a layout, finds its file in the Documents/Adobe folder for Windows or Mac, and copies a layout file in so it shows up in Premiere.
The difference between Set to Frame Size (lowers scale, keeps full resolution) and Scale to Frame Size (resamples the clip). Includes applying it to many clips at once and the Default Media Scaling preference.
A workflow for bigger projects: a selection sequence stacked above a final edit, pulling clips across, and marking used clips with a label color shortcut. Also useful for keeping an older version when a client sends feedback.
Syncing three camera angles by the clap, creating a multi-camera source sequence, and cutting live in the Program Monitor. Also covers numpad shortcuts and building one multi-camera source from long clips split across several cards.
Timeline options one by one: renaming tracks, inserting sequences as nests or clips, linked selection, nudging audio by a frame or by audio samples, saved track-height presets, and why imported clips arrive without audio.
Project settings that matter: scratch disks for preview files, GPU-accelerated effects and the yellow and red render lines, Software Only renderer as a fix for black screens, and applying a label color to every instance of a clip.
Subtitles done properly. Open versus closed captions, creating and styling captions, burning them in or exporting a SubRip file, duplicating a text file for a second language, and why CEA 708 streams are awkward.
Bezier keyframes in detail: spatial interpolation for curved motion paths, temporal interpolation with ease in and ease out, and editing speed curves in the Effect Controls graph to animate a title moving between two points.
Building graphics in the Essential Graphics panel: text and rectangle layers in one graphic, a Ramp effect for a gradient, animating with eased keyframes, using Vector Motion, and groups you can copy between graphics.
Saving animation presets. Explains the Scale, Anchor to In Points and Anchor to Out Points options, makes wipe up and wipe down presets for the start and end of b-roll, and exports them for another computer.
Text tricks in Essential Graphics: video showing through text with Mask with Text, a shape that hides moving text, rolling credits with pre-roll, post-roll and easing, and pinning text to a background shape.
Turning a graphic into a template. A background shape pinned to the text resizes as the text changes, then the graphic is exported as a motion graphics template and installed from the Browse tab.
A transition with the Track Matte Key effect. First an animated rectangle reveals a clip, then a paint transition rendered to MP4 works as a luma matte over a close-up of Yannick.
Natural motion blur for animation. The Transform effect with its own shutter angle (180 degrees as the default), eased position keyframes on a clip and on a lower third, and keeping the effect inside a group.
Warp Stabilizer on handheld footage: smoothness, the stabilization methods, framing and auto scale, and detailed analysis. Then a trick: nest a shaky clip, stabilize it, and place a static shot inside to borrow the motion.
Speeding clips up and down: speed and duration, the rate stretch tool, and time remapping keyframes with eased ramps. Includes 60 fps slow motion, speed ramps as transitions between shots, and optical flow for 50% slow motion.
Mask basics from the Opacity property: pen tool points, bezier corners, feather and expansion. Then a practical build with frame holds, the slip tool and offset layers that clone Yannick's miniatures into an army.
A Lumetri exposure boost limited to Yannick's face with an ellipse mask. Covers feathering, mask path keyframes and automatic tracking of position, scale and rotation, stopping to correct the track.
Matching Camera B and C to Camera A. Uses comparison view and only the Lumetri Color Wheels and Match, then pastes the Lumetri effect on the master clip so every clip from that camera updates.
Building a teal and orange grade with the Lumetri color wheels, then fixing blue in the blacks with HSL Secondary. A second renamed Lumetri effect tones down orange saturation, with Global FX Mute for before and after.
Round trips with Dynamic Link: replacing a clip with an After Effects composition for motion tracking text on a paint bottle, then editing a clip's audio in Audition and getting WAV files back in the timeline.
Cleaning dialogue with Essential Sound: Audio Gain and normalizing the peak, then Reduce Noise, rumble, DeHum, DeEss and reverb reduction, dynamics, EQ presets, warm voice reverb, and music underneath to hide artifacts.
Three ways to mix music under dialogue: manual volume keyframes, automatic ducking in Essential Sound with generated keyframes, and recording track volume live in the Audio Track Mixer, which survives swapping the song.
Sound design for a b-roll edit: syncing sound effects to actions, mixing by distance, swooshes pitched with the rate stretch tool, a room tone for silent gaps, reverb tails by volume keyframes, and balancing against music.
Syncing an external audio recording with its video clip. Merge Clips by audio, removing the camera audio, then hiding the source clips in the project panel.
What red, yellow and green lines mean, and how preview files work. Compares lossy and lossless preview codecs, QuickTime with DNxHR or ProRes, Use Previews on export, and a low-resolution preview setting for smooth playback.
Creating proxies for heavy 5K clips: choosing QuickTime with the ProRes proxy preset, letting Media Encoder make the copies next to the originals, and adding the Toggle Proxies button to the Program Monitor.
Export choices: H.264 with the Match Source High Bitrate preset and bitrates for 4K and full HD, hardware or software encoding, ProRes 422 HQ for handing off, ProRes 4444 with alpha, and sending to Media Encoder.
Checking your Premiere Pro build, keeping an older version installed through Creative Cloud when updating, opening projects with a chosen version, and downgrading a project file with a free web tool made by Josh.
A closing talk: what to do next, a note that Lumetri and audio have more to cover in separate classes, and a reminder to use the downloadable media for your own edit with transitions and 2D animation.
Your instructor
Jordy Vandeput

Jordy Vandeput

Founder of Cinecom · 2.75M+ subscribers on YouTube

Jordy Vandeput is a Belgian filmmaker who has taught practical filmmaking to millions through Cinecom. He breaks professional techniques down into clear, repeatable steps you can use on your very next project.

Watch on YouTube
From the course
What students say
★ 4.8 · 233 reviews

If it is a online class I being a lazy person will never finish it because I mostly will sleep the moment the lecturer starts to bore. But Jordy is the best online teacher I could get never slept in his class because the way he delivers the classes is awesome he makes sure we are taught in a entertaining way. He could also teach a class on how to conduct online video lectures it was that good. The Story telling he used made me remember almost every concept he taught

Rushikesh Gaikwad

I really liked it overall, because Jordy is a very cool and informative teacher, and he makes the learning process so much better with the humour.

Bence Rabi

I saw a video of cinecom on YouTube and from there I came to know about Jordy back in 2018. and from then I started following him and enrolled in his courses, The way he explains thing are very straight and easy to understand. I can't express how much his Courses and YouTube tutorials helped me in my video editing carrer. Thanks Jordy for everything :)😊😊

S johansn

I love Jordy's teaching style because it's fun but very in depth. I always learn a lot from his classes, even if the subject it's difficult, like Premier Pro editing.


katia galante

Couldn’t load more. Try again.
Questions
Yes, some. Jordy says you need basic knowledge of the program and should be able to do basic edits. If you have taken the Cinecom beginner class for Premiere Pro, he calls you the perfect fit for this advanced class.
The lessons were recorded in Premiere Pro 2020. A late lesson shows how to check your build, keep an older version installed through Creative Cloud, and downgrade a project file with a free web tool.
Yes. The download is a 2428.5 MB zip with the media used in the lessons, including Yannick's three-camera interview, b-roll, sound effects and royalty free music. Jordy says you may share your edits on YouTube if they are not commercial.
The course has 34 lessons and runs 3 hours 36 minutes. Most lessons cover one technique, from about 1.5 to 13 minutes, so you can jump straight to a topic such as time remapping, captions or exporting.
Not in full. It teaches matching shots with the Lumetri color wheels, a tracked face mask, and a teal and orange look with HSL Secondary. For every Lumetri tool, Jordy points to a separate Cinecom color grading class.
The lessons are taught in Premiere Pro. After Effects and Audition appear in the Dynamic Link lesson, where a clip goes to After Effects for motion tracking and audio goes to Audition, and the changes come back to Premiere.
Sign in to your Cinecom account and every lesson streams right away, on any device. You keep access for life, for as long as the course stays in our catalogue.
One time. You pay once and keep lifetime access. There is no recurring subscription.
No. Lessons stream from your account. When a course comes with project files, you download those from the course page in your account.
No. When a course teaches a program, the course page shows which one, and you need your own copy.
Yes, you can sign in on your phone, tablet or computer. Your account is personal, and signing in on several devices at the same time can end your other sessions.
Yes. Paddle, our reseller, runs the checkout, charges any VAT or sales tax and sends you the invoice.
No. Our courses do not come with a certificate.
Watch the free preview lessons and browse the full lesson list before you buy. Every lesson unlocks the moment you enrol, so purchases are final. This never affects your statutory rights if a course is faulty or not as described: email [email protected] and we will help.
Cinecom Complete Bundle

Every course. Every pack. One price.

  • 14 courses
  • 24 video packs
  • 1 partner deal
  • Every future release
$197 Total value: $1,704.70 Save 88%