Skip to content

Editors run on coffee and cookies.

Ours are the stats, ads and better-emails kind. Sorry, no chocolate chips. Privacy policy

Statistics

Google Analytics counts visits and sales.

Advertising

Google may use your visits for ads.

Personalised emails

Our emails follow what you look at here.

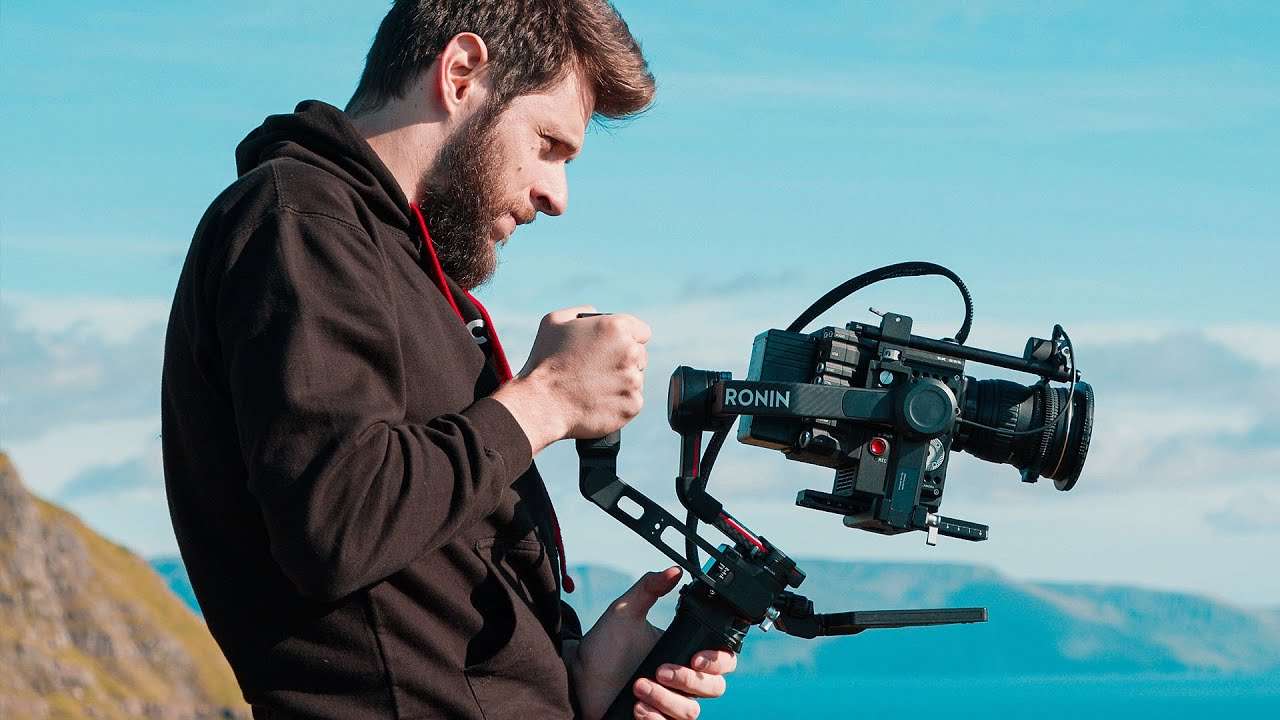
Learn Filmmaking From Beginner To PRO

Learn the fundamental basics of professional filmmaking as taught in film schools. This complete guide teaches you all the technical and artistic rules of videography to get started as a filmmaker.
By Jordy Vandeput ★ 4.7 (1577 reviews) 31 lessons 2h
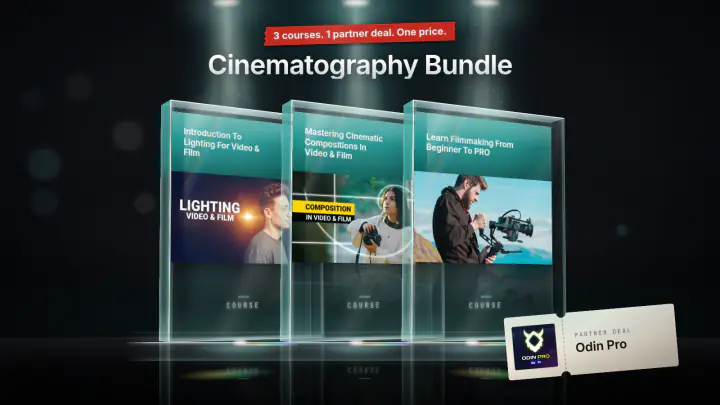
Save 61% Or take the bundle Cinematography Bundle 3 courses · 1 partner deal $149 $391.35 total value See the bundle
Trailer Cinecom
What you'll learn
  • Set your camera to manual mode and understand all settings to take full creative control
  • Make camera framings and compositions by the rules of filmmaking
  • Understand the most common camera supports and how to use them properly (ie. the tripod)
  • Advanced techniques about the art and visual storytelling of filmmaking
About this course

This course teaches you to shoot video the way a trained filmmaker does: set your camera to manual, frame people and landscapes with the rule of thirds, choose camera angles and movement for a reason, and use a tripod, gimbal or slider properly. It starts from zero and is made for beginner filmmakers.

What you'll learn in this filmmaking course

Take control of your camera

  • Manual exposure: aperture and f-stops (and the depth of field they change), ISO and noise, shutter speed and motion blur, and how the three trade off against each other
  • Frame rates: 24, 25 and 30 FPS, the shutter speed that matches each, and the frame rates you need for slow motion
  • Reading the histogram to check exposure, including a target for skin tones (around 70% for lighter skin, around 50% for darker skin)
  • Autofocus against manual focus, focus peaking and focus pulling
  • White balance in Kelvin, and picture profiles from standard to a flat log profile

Frame and tell a story

  • The rule of thirds, plus viewing space and walking space
  • Framing a person: long shot, medium shot, close-up, where to cut around joints, the puppet effect and the establishing shot
  • Two-shots, over-shoulder shots, foreground objects and what is behind your subject
  • Focal length: wide angle, normal and tele, what each does to field of view, depth of field and audience perspective, and the crop factor of your sensor
  • Low, eye-level and high camera positions, and what they say about a character's status
  • The 180 degree rule, and when breaking it makes sense

Move the camera and shoot for the edit

  • Handheld movement for an interview and for an action scene
  • When to use slow motion
  • B-roll, insert shots and cutaways, and how to slice a scene into different framings so the shots cut together without jump cuts

Camera support

  • ND filters: ND numbers, fixed against variable, and step-up rings
  • Choosing a video tripod (fluid head, counterbalance, spreaders, bowl heads), and practising pans and tilts
  • Camera rigs, gimbals and sliders, and how to create depth in a flat 2D image

How the course is built

There are 31 lessons, about 2 hours in total. Most lessons run 2 to 8 minutes. The order follows how film schools teach: first the camera settings, then the rules of framing and visual storytelling, then the tools that support the camera.

You practise as you go. You find the highest ISO your own camera handles cleanly, train manual focus with a focus chart, and practise panning and tilting with nine numbered sheets of paper on a wall. After the framing lessons you make a short scripted action film from a storyboard, such as chopping vegetables or cleaning the car, with a friend as your talent. Jordy uses a Panasonic Lumix GH5 as the demo camera.

Who this course is for

It is for beginner filmmakers who want to understand their camera and the basic rules of filmmaking, starting from the basics. Jordy says the camera matters less than the person behind it, and that includes a phone.

It does not teach video editing. Jordy says so in the white balance lesson. The gimbal lesson is an introduction, and he notes that gimbals could fill a class of their own.

What you need

A camera where you can set exposure manually, and a friend or a teddy bear to film for the practice shots. No editing software is used in the lessons.

Lessons
31 lessons 2h 3 free previews
Meet Jordy and see how the class is laid out: camera settings first, then framing and visual storytelling, then camera tools like the tripod and gimbal. The goal is to shoot a whole video that looks professional.
Why the filmmaker matters more than the camera, even if you shoot on a phone. Covers body and lens, lens mounts, and the Panasonic Lumix GH5 demo camera with its cage, 15 mm rods and external monitor.
Switch to manual mode and meet the first exposure setting. The aperture changes exposure and depth of field, and f-stop values such as 2.8, 5.6, 8 and 11 show how open it is. Compares an open and a closed aperture.
ISO as a digital brightness control and why it adds noise. Keep it low, check all three exposure settings whenever the light changes, and test your own camera to find the highest ISO that still looks acceptable.
Shutter speed as the sensor's refresh rate, with motion blur as the side effect. Shows how fast and slow shutter speeds change a fight scene or an arm wave, and how to balance ISO, aperture and shutter in dark and bright places.
What frames per second means: 24 FPS for cinema, 25 or 30 for web video, and the 50 Hz and 60 Hz backstory. Links frame rate to shutter speed (double the frame rate) and explains how 60 or 120 FPS makes slow motion.
Use the histogram to judge exposure instead of trusting the camera display. Keep the graph off both edges, protect cloud detail against a bright sky, and aim for about 70% on lighter skin tones and about 50% on darker ones.
When autofocus helps and when it hurts. Compares face detection with a chosen focus point moved by the thumbsticks, and warns about focus pumping and the lack of control over how fast focus shifts.
Why professionals mostly focus by hand. Practise walking back and forth while keeping a subject sharp, turn on focus peaking, try focus pulling and rack focus, and check your focus with a printed focus chart.
Color temperature in Kelvin, from candles near 2000 K and tungsten at 3200 K to daylight at 5500 to 6500 K. Set a white balance by value or preset, avoid AWB, and pick a middle value like 4500 for mixed window and indoor light.
Choose a picture profile: standard, neutral, vivid or monochrome, and why many filmmakers shoot flat. Introduces log profiles (S-Log, V-Log, C-Log) with a flat clip graded several ways, and says beginners can skip log for now.
Framing and composition built on the rule of thirds grid. Place the horizon, a tree, a distant talent or a face on the guidelines, and leave viewing space or walking space for subjects that look or move in one direction.
Frame a person as a long shot, medium long shot, medium shot, medium close-up, close-up and extreme close-up. Avoid the puppet effect, never cut at a joint, and add the establishing shot, including a stock-clip trick.
Shoot two people with a two-shot and an over-shoulder shot, where a shoulder or rock acts as an out-of-focus foreground. Shows how foregrounds add depth and parallax, and how framing ties into visual storytelling.
Check what sits behind your subject. A tree sticking out of the talent's head looks odd, and a forest or a living room tells the audience where they are. Ends with a practice assignment: long shots, medium shots, close-ups and foregrounds.
Prime against zoom lenses, then wide angle, normal and tele at 20, 50 and 100 mm. Compares field of view, depth of field and audience perspective, and explains full frame, APS-C and Micro Four Thirds crop factors when buying a lens.
Low, eye-height and high camera positions, and the status each gives a character, from frog perspective to bird's eye. Walks through an employee and employer conversation and a spray-paint artist video as examples.
Draw an invisible line through two people and stay on one side of it. Shows what goes wrong when a talent suddenly looks the other way, how a driving car keeps its direction, and when fight scenes break the rule on purpose.
Handheld as a choice that makes video more dynamic and energetic. Covers posture, breathing with the camera for a casual interview, and small fast movements that snap from subject to subject in a fight scene.
What slow motion does for the viewer: more time to see a jump over a rock, the details of a face, or the emotion in a head tilt. Filmed at 60 FPS and stretched to 30, and used sparingly.
A-roll against B-roll, with a second camera or without one. Defines B-roll sequences, insert shots and cutaways with interview and travel-video examples, and mentions a stock library for the shots you forgot to film.
Plan the shots before you record. Slice pouring and drinking a glass of water into a long shot, close-up and medium shot, change framing every cut to avoid jump cuts, and film hooks like an empty room that later fills with people.
A practice assignment: sketch a storyboard for a short action film, such as chopping vegetables, cleaning the car or gardening, and shoot it with a friend as talent while applying exposure, focus and white balance. Making mistakes is encouraged.
What an ND filter does and how to read ND 2, ND 4, ND 16 and ND 100. Compares fixed and variable ND filters, suggests ND 8 for overcast days and ND 32 for strong sun, and recommends an 82 mm filter with step-up rings.
Cheap plastic, photo and video tripods compared. Explains the three head axes, fluid drag, counterbalance and pan and tilt locks, then mid and bottom spreaders, bowl heads against flat mounts, and 75 and 100 mm bowl sizes.
Tripod shots feel steady and confident, handheld feels dynamic, so choose for story and not for convenience. Practise smooth pans and tilts with nine numbered sheets of paper, test friction levels and try a loose head.
Cinema cameras, video cameras and SLRs compared, and why SLRs lean towards cinema cameras. Walks through Jordy's rig: cage, top handle, 15 mm rods, follow focus, matte box, external monitor and battery plate, with advice to start simple.
What a gimbal does, and the difference between stick, hanging and hybrid designs. Gives walking technique with bent knees and a loose arm, advice to twist the gimbal for pans instead of using the joystick, and when not to use one.
How a camera slider works, and why it beats a gimbal for slow, precise moves like product videos. Shows track in and track out shots, and mounting the slider on a tripod with a photo head for lift and arc movements.
The introduction to cinematography: video is flat, so create depth. Covers camera movement and parallax, out-of-focus foregrounds and backgrounds, framing, lighting and shadows, colors and contrast. Pick at least one technique per shot.
Wrap-up of the class, with a reminder to practise. If you have not made the short scripted video yet, storyboard it, plan your shots and make a product video, someone making coffee or a mini short film.
Your instructor
Jordy Vandeput

Jordy Vandeput

Founder of Cinecom · 2.75M+ subscribers on YouTube

Jordy Vandeput is a Belgian filmmaker who has taught practical filmmaking to millions through Cinecom. He breaks professional techniques down into clear, repeatable steps you can use on your very next project.

Watch on YouTube
From the course
What students say
★ 4.7 · 1577 reviews

I was glad to learn from Jordy, the lessons are devided into short and informative importatnt topics, that upgraded my whole workflow. And my clients are happy too..

Moria Levin

Jordy taught me the basics of my new craft, I am happy that I picked him, the lessons are well structured, he is very enthusiastic and captivating teacher and it shows that tons of work have been put into the classes. Loved it, 10/10!

Alexej Kinsky

Estoy encantada con las clases, muy profesionales, exlicáis lo necesario y lo útil. He aprendido mucho con vosotros.

Maria Lorincikova

The lessons are very fun and easy to understand. I really wanna learn that skills but I live in undeveloped town in Myanmar. There is no class that teach video editing like that. At first, I found some YouTube channels but I didn't understand because I have no basic. Thanks Sir Jordy. By you thank, now I knew a lot of things about video editing and can create. Thanks a million Sir Jordy. I have a plan to learn all the classes that you uploaded when the internet get back again, (Internet are cut off in this region.)


Yaw Shu

Couldn’t load more. Try again.
Questions
No. In the second lesson Jordy says it does not matter which camera you use, including a phone, because filmmaking is about the person behind the camera. To follow the settings lessons you need a camera where you can set exposure manually.
The demo camera is a Panasonic Lumix GH5, built into a rig with a cage, 15 mm rods and an external monitor. The lessons teach settings and rules that apply to any camera, and Jordy shows what to look for in your own menus.
Yes. Jordy describes it as a fundamental class for beginner filmmakers. It starts with the camera itself (aperture, ISO, shutter speed) and builds up to framing, camera movement and tools like the tripod.
No. Jordy says in the white balance lesson that video editing is not covered. The course focuses on shooting: camera settings, framing, visual storytelling and camera support. It does teach how to shoot so that your shots cut together well.
The last lessons explain what each tool does and how to choose one. Jordy says the gimbal is an extra most people do not need, and advises starting simple with a camera cage and top handle instead of a full rig. For filters he recommends an 82 mm variable ND filter with step-up rings.
After the framing lessons you make a short scripted action film from your own storyboard, with a friend as talent. Jordy gives examples such as chopping vegetables or cleaning the car. You also practise ISO tests, manual focus and nine-sheet pan and tilt drills.
Sign in to your Cinecom account and every lesson streams right away, on any device. You keep access for life, for as long as the course stays in our catalogue.
One time. You pay once and keep lifetime access. There is no recurring subscription.
No. Lessons stream from your account. When a course comes with project files, you download those from the course page in your account.
No. When a course teaches a program, the course page shows which one, and you need your own copy.
Yes, you can sign in on your phone, tablet or computer. Your account is personal, and signing in on several devices at the same time can end your other sessions.
Yes. Paddle, our reseller, runs the checkout, charges any VAT or sales tax and sends you the invoice.
No. Our courses do not come with a certificate.
Watch the free preview lessons and browse the full lesson list before you buy. Every lesson unlocks the moment you enrol, so purchases are final. This never affects your statutory rights if a course is faulty or not as described: email [email protected] and we will help.
Cinecom Complete Bundle

Every course. Every pack. One price.

  • 14 courses
  • 24 video packs
  • 1 partner deal
  • Every future release
$197 Total value: $1,704.70 Save 88%