Skip to content

Editors run on coffee and cookies.

Ours are the stats, ads and better-emails kind. Sorry, no chocolate chips. Privacy policy

Statistics

Google Analytics counts visits and sales.

Advertising

Google may use your visits for ads.

Personalised emails

Our emails follow what you look at here.

Adobe Premiere Pro Adobe Premiere Pro

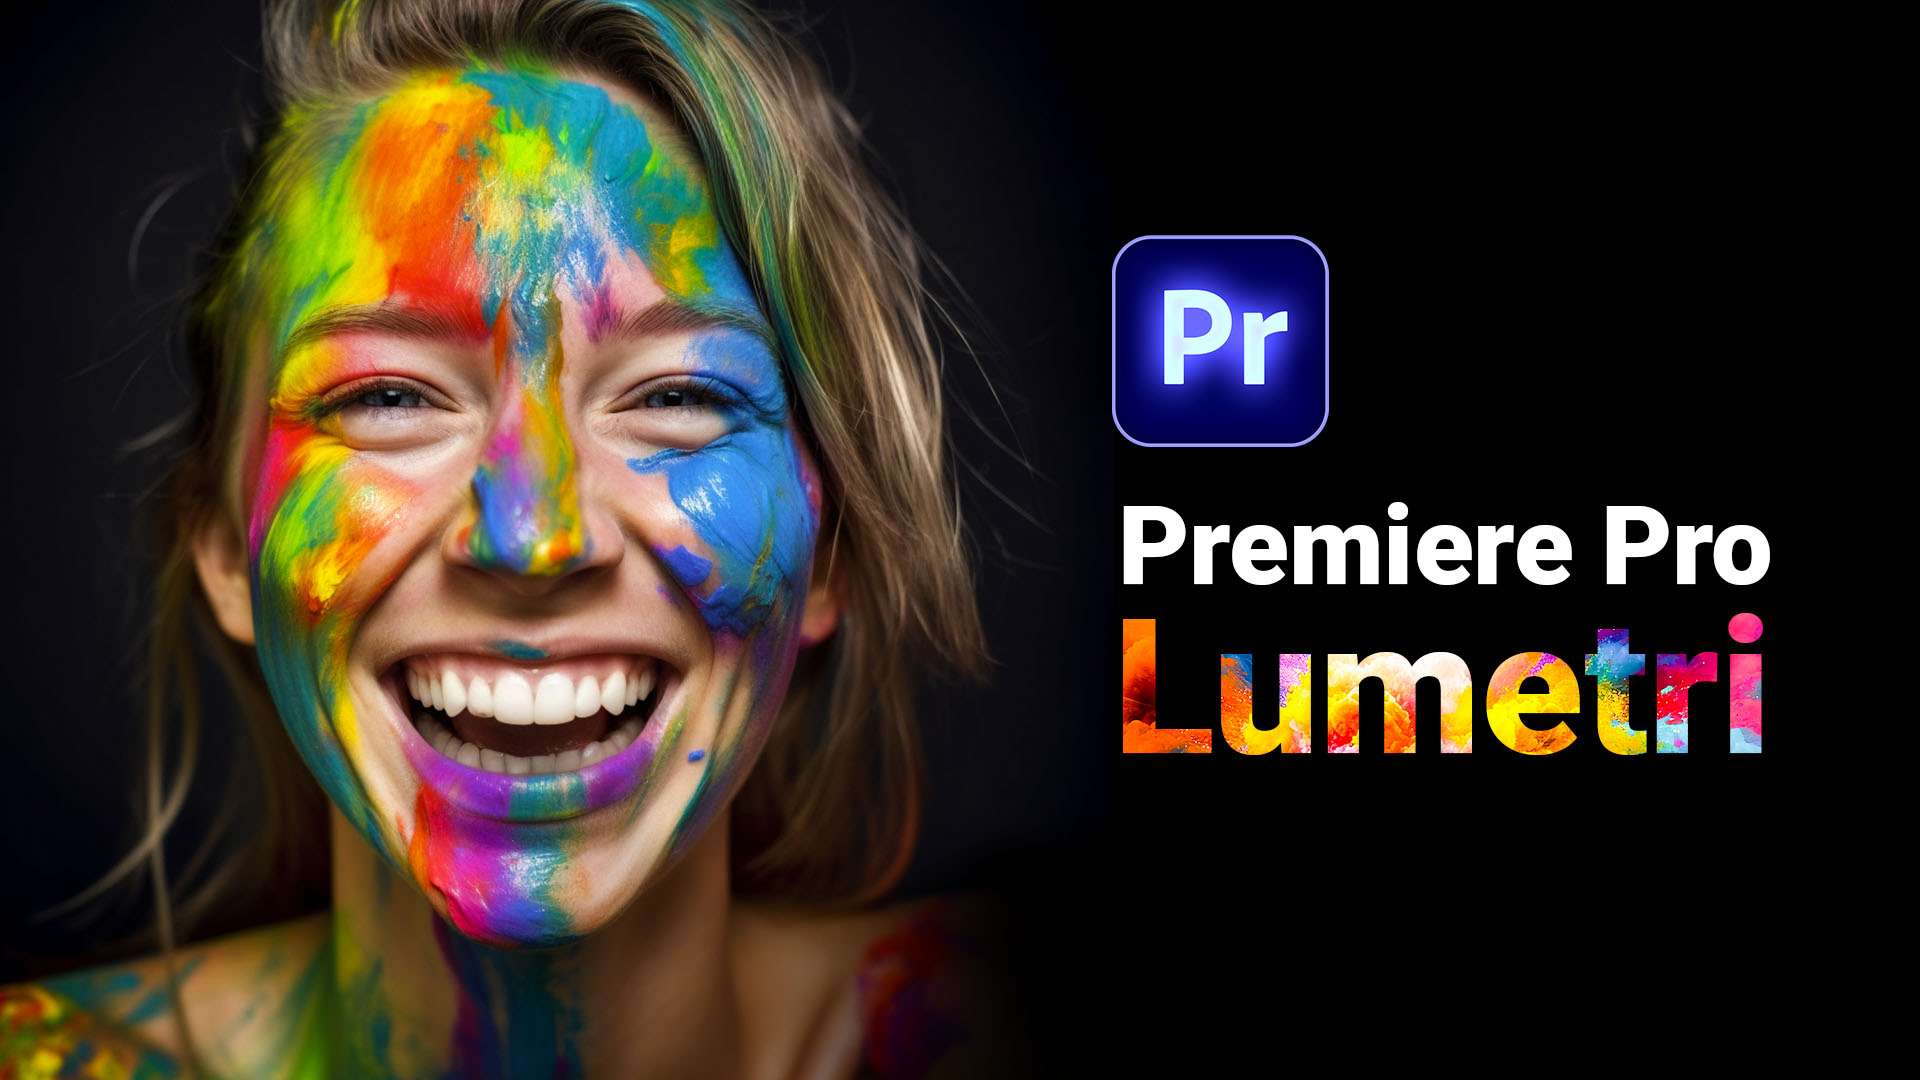
Premiere Pro Lumetri: Color Correct & Color Grade Like A Pro

Start learning Color Correction and Color Grading in this complete beginners class. This class does not cover boring theory lessons. From the first lesson we dive straight into practical examples and real situations.
By Jordy Vandeput ★ 4.8 (1876 reviews) 17 lessons 1h 58m Project files included
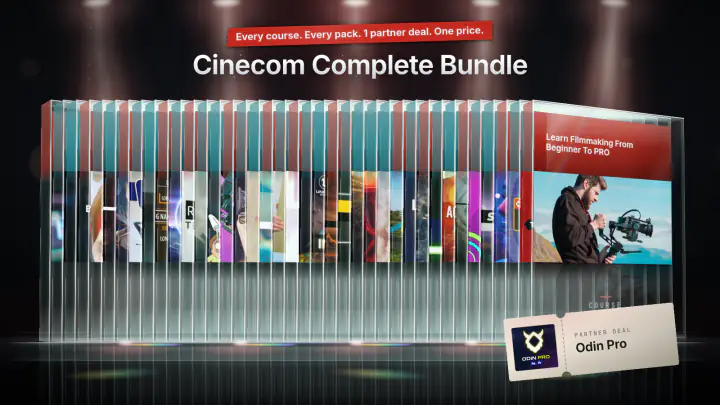
Save 88% Or take everything Cinecom Complete Bundle 14 courses · 24 video packs · 1 partner deal $197 $1,704.70 total value See the bundle
Trailer Cinecom
What you'll learn
  • Lumetri controls and how they work
  • Using the Scopes in function of a Color Correction
  • Performing advanced Color Correction tasks
  • Fixing bad Footage
  • Matching Levels and Colors of different clips
  • Creating a Cinematic Look
  • A Color Correction and Grading Workflow
About this course

This course teaches you to color correct and color grade video in Adobe Premiere Pro with the Lumetri Color panel and the Lumetri Scopes. You learn to fix exposure and white balance, measure a shot instead of guessing, build looks such as teal and orange, and grade a whole timeline. It is made for beginners, and you work on real shots from the first lesson.

What you'll learn in this Premiere Pro Lumetri course

Correct a shot

  • The Basic Correction tone controls: exposure, contrast, saturation, and the highlights, shadows, whites and blacks sliders, including how to avoid banding and how to soften a shot that already has too much contrast.
  • Reading the Luma and RGB waveform to spot clipping, use the full range of a shot and keep levels the same from clip to clip.
  • RGB curves and S curves, color temperature and tint, and the white balance selector.
  • Reading saturation on the YUV vectorscope, and keeping skin tones on the skin tone line.

Grade a look

  • The Color Wheels & Match tab, the teal and orange look, and the Comparison View for checking two clips side by side.
  • Saving a grade as a preset and as a .cube LUT, and the difference between creative LUTs, technical LUTs such as Rec. 709, the input LUT and the Look in the Creative tab.
  • Saturation versus vibrance, and choosing a grade by describing the scene and the emotion first.
  • Keeping color correction and color grading in two separate, renamed Lumetri Color effects so you can revise either one later.
  • Animating a correction with keyframes when the light changes during a shot.

Fix problems and finish a project

  • The Hue Saturation curves, including Hue vs Sat, Hue vs Hue, Hue vs Luma, Luma vs Sat and Sat vs Sat.
  • Correcting a green shot, and fixing bluish blacks with a second Lumetri effect or an HSL Secondary selection.
  • Masks with feathering, and tracking a mask onto a moving face.
  • A full workflow: correct each clip, work on the master clip when a shot repeats, then grade on an adjustment layer and fine-tune each clip.

How the course is built

There are 17 lessons with a total runtime of 118 minutes, just under 2 hours. Jordy skips long theory lessons: he gives small pieces of theory while you color a shot. The lessons run in a set order, from the Basic Correction tab through scopes, curves, wheels and LUTs to masks, and the class closes with a full-timeline workflow lesson and a short conclusion. A project files ZIP (about 2.9 GB) is listed with the course. In the LUTs lesson Jordy says it holds the LUTs, the video clips and the project files.

Who this course is for

It is for beginners who want to start correcting and grading their own shots in Premiere Pro. It starts at the Basic Correction tab and adds one tool at a time.

It is not a course on other software or on camera settings. Everything is done in Premiere Pro, and Jordy points to a different course of his for camera settings. Vignettes get a quick look in the masking lesson and are left as self-study.

What you need

You need Adobe Premiere Pro. In the Creative Cloud version, as Jordy puts it, all color grading and color correction tools sit in the Lumetri Color panel, and the lessons also use the Lumetri Scopes and the Effect Controls panel.

Lessons
17 lessons 1h 58m 3 free previews
Jordy introduces the class: a practical Lumetri course set in his painting gallery, with short pieces of theory given while you work on real shots instead of long theory lessons.
Opens the Lumetri Color panel and the Basic Correction tab. Covers exposure, contrast, saturation and the highlights, shadows, whites and blacks sliders, including how to avoid banding and how to soften a shot with too much contrast.
Opens Lumetri Scopes and reads the Luma waveform: where blacks, shadows, highlights and whites sit, how to spot clipping, how to use the full range without losing detail, and how to keep levels consistent across shots.
Shapes contrast with the white curve and S curves, then works the red, green and blue curves against the RGB waveform. Ends with a red-in-the-highlights trick to make a model pop and a warm filter look.
Explains color temperature and tint, why green and magenta casts look artificial, and how the white balance selector fixes a cast by clicking a white sweater. Shows why pushing temperature tints the shadows and highlights too.
Uses the Color Wheels & Match tab to warm a shot by tone range instead of the temperature slider, then builds the teal and orange look. Compares clips with the Comparison View in the program monitor.
Saves a grade as a Lumetri preset and exports it as a .cube LUT. Covers creative versus technical LUTs, Rec. 709 for log footage, the input LUT versus the Look in the Creative tab, and the Intensity slider.
Reads saturation on the YUV vectorscope and uses a pen tool mask on a blouse to check its color. Shows how Vibrance evens out color levels where Saturation pushes every color, with before and after.
Corrects a too-bright, too-cold shot, then grades it. Keeps correction and grading in two renamed Lumetri Color effects so you can revise either, and copies the grading effect onto another clip.
Grades two clips, a dreamy summer scene and a cold action shot, by first describing each scene in words. Covers warm and cold tones, soft and hard contrast and saturation, and why a grade has to fit the story.
Animates a correction with keyframes in Effect Controls when sun flare lifts the shadows halfway through a shot. Matches exposure and color across the shot, and notes the same method for moving from outdoors to indoors.
Walks through the Hue Saturation curves: Hue vs Sat, Hue vs Hue, Hue vs Luma, Luma vs Sat and Sat vs Sat. Examples include keeping only the red in a black and white shot, a purple skirt and a monotone look.
Corrects a green shot by masking a patch of forehead, reading it on the vectorscope and moving the mid-tones until the skin sits on the skin tone line. Then repairs skin tones on a teal and orange grade.
Fixes bluish blacks in a teal and orange grade two ways: a second Lumetri effect with Luma vs Sat, and an HSL Secondary selection with denoise and blur. Then selects skin tones to sharpen and warm a face.
Uses pen and ellipse masks inside Lumetri effects, with feathering and expansion, to enhance a sky, then tracks a mask onto a moving face. Adds a darkened corner for emphasis and touches on vignettes.
Grades a full timeline: correct each clip, work on the master clip when a shot repeats, apply the Rec. 709 LUT to a log shot, then grade on an adjustment layer and fine-tune each clip. Includes labeling master-graded clips.
The closing lesson. Jordy wraps up the class, recaps that you have covered the foundation of color correction and color grading in Premiere Pro with Lumetri, and signs off.
Your instructor
Jordy Vandeput

Jordy Vandeput

Founder of Cinecom · 2.75M+ subscribers on YouTube

Jordy Vandeput is a Belgian filmmaker who has taught practical filmmaking to millions through Cinecom. He breaks professional techniques down into clear, repeatable steps you can use on your very next project.

Watch on YouTube
From the course
What students say
★ 4.8 · 1876 reviews

I had a specific color issue and this class addressed that issue(among others) and I was able to color correct my video.

Antonia Cambanis

Good course for learning color grading.

Neel Roy

Excellent

Arnaldo Ochoa Maldonado

Very detailed and easy to follow instruction.

Luke Baumbach

Couldn’t load more. Try again.
Questions
No. The course is rated beginner. It starts at the Basic Correction tab in Lumetri and adds scopes, curves, wheels, LUTs and masks one lesson at a time.
The lessons do not name a version. Jordy says that in the Creative Cloud version of Premiere Pro, all color correction and color grading tools sit in the Lumetri Color panel, and that is the panel the course teaches.
A project files ZIP of about 2.9 GB is listed with the course. In the LUTs lesson Jordy says you can download the LUTs, the video clips and the project files, so you can work on the same shots as he does.
You will have corrected and graded clips in Premiere Pro, saved a teal and orange look as a .cube LUT, fixed skin tones with the vectorscope, used masks and tracking, and graded a full timeline with an adjustment layer.
No. Jordy says he avoids long theory lessons and gives short pieces of theory while you color real shots. Color temperature, warm and cold tones and choosing a grade to fit the emotion of a scene are covered as part of those practical lessons.
There are 17 lessons with a total runtime of 118 minutes, just under 2 hours. That includes a short introduction and conclusion, and a final lesson on grading a whole timeline.
Sign in to your Cinecom account and every lesson streams right away, on any device. You keep access for life, for as long as the course stays in our catalogue.
One time. You pay once and keep lifetime access. There is no recurring subscription.
No. Lessons stream from your account. When a course comes with project files, you download those from the course page in your account.
No. When a course teaches a program, the course page shows which one, and you need your own copy.
Yes, you can sign in on your phone, tablet or computer. Your account is personal, and signing in on several devices at the same time can end your other sessions.
Yes. Paddle, our reseller, runs the checkout, charges any VAT or sales tax and sends you the invoice.
No. Our courses do not come with a certificate.
Watch the free preview lessons and browse the full lesson list before you buy. Every lesson unlocks the moment you enrol, so purchases are final. This never affects your statutory rights if a course is faulty or not as described: email [email protected] and we will help.
Cinecom Complete Bundle

Every course. Every pack. One price.

  • 14 courses
  • 24 video packs
  • 1 partner deal
  • Every future release
$197 Total value: $1,704.70 Save 88%
