 Adobe Premiere Pro
Video Editing With Adobe Premiere Pro For Beginners
Learn professional video editing with Adobe Premiere Pro. A beginners course to get you started with basic editing techniques, text & graphics, audio enhancing, transitions, video effects and so much more!
 Save 52%
Or take the bundle
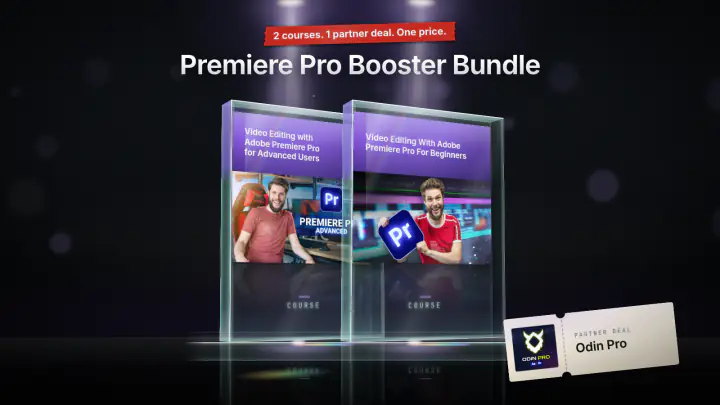
Premiere Pro Booster Bundle
2 courses · 1 partner deal
$139
- Organizing and starting a Premiere Pro project
- Perform basic edits, arranging clips and working in multiple layers
- Perform advanced edits using the toolbox, masks and blending techniques
- Applying and adjusting video/audio effects
- Create custom graphics and texts
- Making custom templates and using third party templates
- Create custom animations and understand its mechanics
- Mixing audio from speech, music and sound effects
- Exporting a video with the proper settings
This course teaches you video editing in Adobe Premiere Pro, from creating an empty project to exporting a finished video. You cut clips on a timeline, add effects, titles and animation, mix audio and color the footage, all on a short Iceland travel edit. It is made for beginners who have never edited before.
What you'll learn in this Premiere Pro course
The course follows the order of a real edit. These are the techniques Jordy demonstrates, lesson by lesson.
- Starting a project: keeping all media in one folder, creating a project file, importing footage, organizing it in bins, and arranging, resetting and saving your own workspace.
- Basic editing: creating a sequence with the right resolution and frame rate, setting In and Out points in the Source monitor, trimming, dragging video only or audio only, relinking offline media, and troubleshooting the timeline.
- Effects and layers: scaling clips in the Effects Controls, applying effects from the Effects Library, understanding the red, yellow and green render lines, blending clips with Opacity and Blending Modes, and layering light leaks over a shot.
- Reframing and speed: a split screen with the Crop effect, a vertical social video with Auto Reframe, nested sequences, slow and fast motion with Optical Flow and Frame Blending, reversing a clip, and the Rate Stretch tool.
- The toolbox: Track Selection, the Remix tool for lengthening music, the Razor tool, inserting clips with Ctrl, and locking tracks.
- Transitions: audio crossfades, Cross Dissolve, Dip to White, setting a default transition, Morph Cut, and a custom transition built from keyframes, the Offset effect and Directional Blur.
- Text, graphics and templates: the Type, Rectangle, Ellipse and Pen tools, the Essential Graphics panel, grouping layers, free and installed motion graphics templates, and saving your own graphic as a template.
- Text-based editing and captions: transcribing an interview, cutting pauses and mistakes by deleting words, and creating and styling captions.
- Masking and animation: ellipse and Pen masks, pixelating a face with the Mosaic effect, tracking the mask automatically, keyframes with the stopwatch, and Ease In to smooth a movement.
- Audio: Enhance Speech in the Essential Sound panel, EQ and reverb, Audio Gain versus volume, keyframing music under speech, reading the audio meters, and adding sound effects.
- Color: Lumetri Color basic correction, the Auto button, a LUT for V-Log footage, an adjustment layer, Looks, and a teal and orange grade with the color wheels.
- Exporting: choosing a preset, comparing file sizes, exporting at 1080p, and burning captions in or exporting an SRT file.
How the course is built
There are 24 lessons with a total runtime of about 3 hours 45 minutes. Jordy works through one edit step by step, and between lessons he asks you to try each technique yourself, for example by cutting up an interview. Three lessons are free to preview: The Effects Controls, Creating Animations, and Editing and Sound Design.
You can download the footage and project files Jordy uses, so you can follow along with the same clips. The zip file is about 1.3 GB.
Who this course is for
It is for anyone starting out in Premiere Pro, including people who feel overwhelmed the first time they open it. Jordy explains terms like sequence and frame rate from scratch. It is not a deep course on color or sound: the lessons cover the basics of both, and Jordy says color grading deserves a course of its own.
What you need
You need Adobe Premiere Pro. Jordy uses Premiere's built-in effects, so no extra plugins are required. The footage, music and project files come with the download.

Jordy Vandeput
Founder of Cinecom · 2.75M+ subscribers on YouTube
Jordy Vandeput is a Belgian filmmaker who has taught practical filmmaking to millions through Cinecom. He breaks professional techniques down into clear, repeatable steps you can use on your very next project.
Watch on YouTube★★★★★Very informative, engaging and entertaining.
★★★★★Awesome course, I learnt everything I needed and so much more, in a instructive and funny way! Trully edutainment and pure gold, thanks a lot and stay creative!
★★★★★The course was absolutely awesome, I'm not a beginner in video editing, but I definitely needed a well-structured complete course of the basics of Premiere and this was exactly the video I needed!
★★★★★You can't be just a talking head, spewing out a bunch of information and instructions, especially online. You have to be engaging so people want to watch, especially with technical things. Jordy is all that and more - entertaining, engaging and still "spews" out great information and instructions. I want to take classes from him I don't even want to learn!


Every course. Every pack. One price.
- 14 courses
- 24 video packs
- 1 partner deal
- Every future release