Animate a lower third title in Premiere Pro
 Jordy Vandeput
207K views
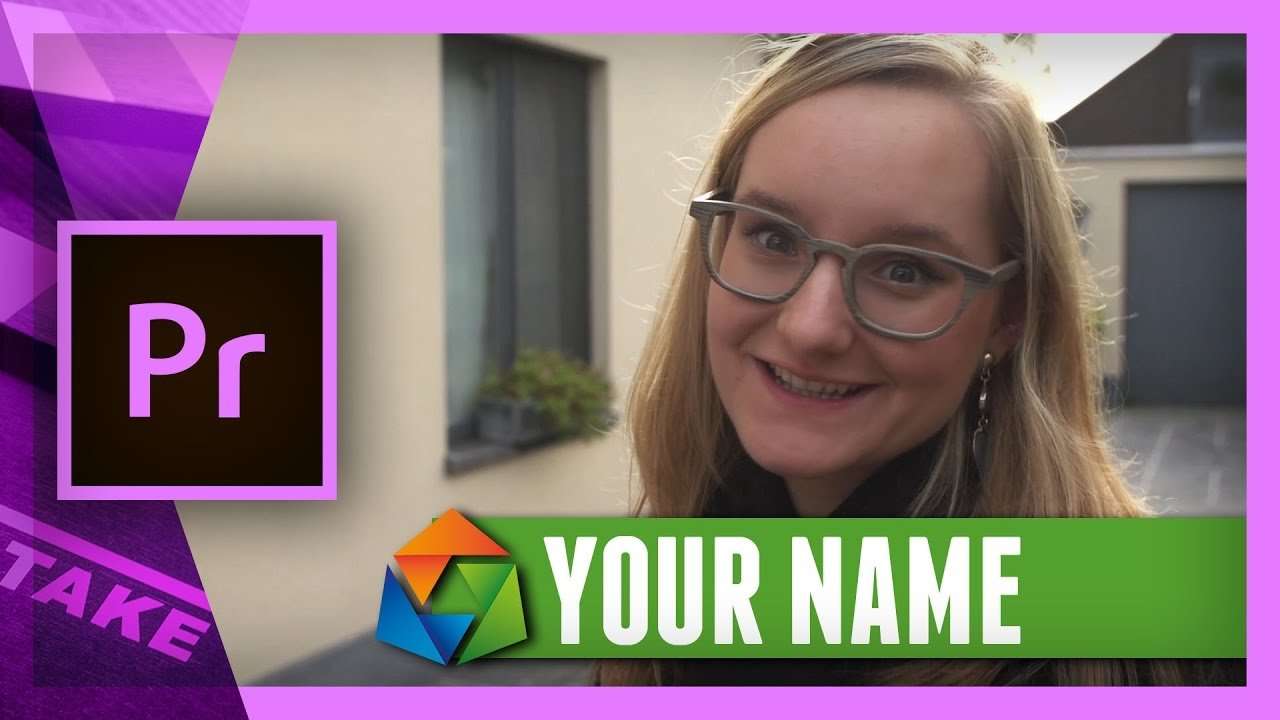
Make a lower third title in Premiere Pro. Learn how to design different layers and add an in and out animation to your name tag with logo.
Are you introducing someone in your videos? Then it's great to show their name. This can be done with a lower third title.With the title designer of Premiere Pro, we can create the design of the title. The title designer has many tools to create shapes, paths, change styles and even import images.
Once we are done with the design, we will duplicate the the title file as many times as there are elements inside. For example; if you have created one text layer, two rectangles and one logo image, you have four elements in total. With having four duplication's, we are now going to remove all elements but one for each title file. We wanna have each element in a separate title file.
Next, lay all those title files on top of each other in your timeline. This is the same idea as working with layers in Photoshop. Now we can animate each layer separately to create an incoming animation.
When the animation is complete, we would also like to create an outgoing animation. The faster way to do this is by nesting the title files into a new sequence. Then duplicate that sequence in your timeline and reverse the time of it.
Congratulations, you have now designed and animated a professional lower third within Adobe Premiere Pro!
Jordy Vandeput
Founder of Cinecom · 2.75M+ subscribers on YouTube
Jordy Vandeput is a Belgian filmmaker who has taught practical filmmaking to millions through Cinecom. He breaks professional techniques down into clear, repeatable steps you can use on your very next project.




18 comments
thanks for sharing this nice tutorial i sub your channel
need yout help.. whats the name of this efffect? http://prnt.sc/cp7xo2 i need it quickly,, thanks
what's the name of this effect? http://prnt.sc/cp7xo2 can you tell me the name? i need it quickly and maybe you can make this tutorial.. please need your help
Im cannot open this project, why? but my version is CC 2015?
What error message do you get? If you have CC2015 it should open.
After reversing the animation the reversed clip played but is distorted
Distorted in what way?
geweldig maat heel goed en duidelijk!!!
Nice :D
But i can open another title file Simple TItles CC2014+
By the way, it is nice job you done. i Sub your youtube channel .
This project was saved in a newer version of Adobe Premiere Pro and cannot be opened in this version.
Thanks for subscribing! Simple Titles was made in a different version I think. The problem with Premiere Pro is that with every update, a project file could not be compatible anymore. Unfortunately we can't re-make every project file for all available versions.
Any way , thanks for your well job. Love it