This Update CHANGES EVERYTHING! (Premiere Pro V25.6)
 Jordy Vandeput
57K views
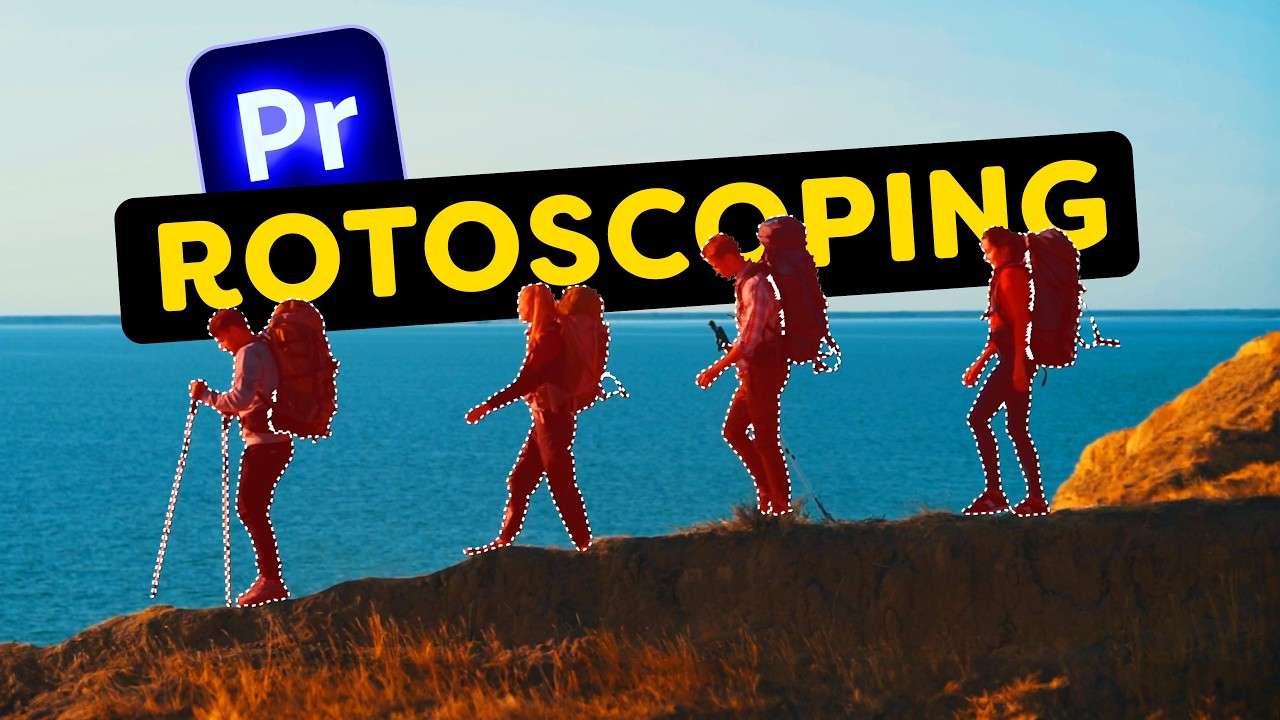
Learn Premiere Pro V25.6 Object Mask Tool: fast mask tracking, opacity/effect assignment, and how to place text behind moving subjects in Premiere.
In this Premiere Pro V25.6 walkthrough I show the brand-new Object Mask Tool, a game-changing mask tracking workflow that makes rotoscoping for simple compositing tasks incredibly fast. If you want to test it yourself, open the Premiere Pro Beta page to access the feature and follow along. I cover selection methods, tracking, assigning masks to opacity or effects, and a quick comparison with After Effects' Roto Brush so you can decide when to use each tool.
1. Why this Premiere Pro V25.6 update matters
This update finally brings object-aware masking into a timeline-based editor, meaning you can isolate moving subjects without leaving Premiere. That reduces round-trip edits and speeds up common tasks like placing text behind people or selectively blurring backgrounds.
For editors, that translates into faster turnaround, fewer exports between apps, and a simpler workflow for everyday VFX and motion graphics. The object mask tool combines AI-powered selection with integrated mask tracking inside the Effect Controls panel.

2. Object Mask Tool overview: what it does
The Object Mask Tool automatically detects a subject in the Program Monitor and creates a mask that you can track across a clip. This detection works like Photoshop's object selection but optimized for moving images inside Premiere.
Once detected, the mask is created as an unassigned mask in Effect Controls; you then choose whether to change it to an opacity mask or assign it to any effect.
The result is an editable, trackable mask that behaves like standard Premiere masks but with AI-driven selection accuracy.
3. Step-by-step: Open, select, and generate a mask
First, load your clip in the timeline and switch to the Premiere Pro Beta if necessary. Make sure the clip is selected so the toolbar and Program Monitor respond to the Object Mask Tool.
Next, choose the Object Mask Tool from the toolbar and hover over your subject in the Program Monitor; the subject will highlight in red.
Left-click to generate a selection - it takes a few seconds while Premiere analyzes the frame and builds the mask.
Refining the initial selection

If the automatic selection isn't perfect, you can draw a rectangular area around the subject to guide the AI.
The tool also includes a lasso option so you can draw a freehand selection for tighter control.
To subtract areas from a selection, hold down Alt (Option on Mac) and click the regions you want to remove. You can change the mask highlight color to suit your visibility preferences from the same menu.
4. Tracking masks across the clip
Once the unassigned mask appears in Effect Controls, click the tracker button labeled "Track Selected Masks Forward and Backward." Premiere will analyze motion and create keyframes for the entire clip.
The tracker runs forward from the playhead, then reverses to cover the full duration, so you don't need to worry where you start.
All generated tracking data appears in the tracker section in Effect Controls for precise tuning.
Tips for more reliable tracking
Begin tracking on a frame where the subject is clearly visible and not motion-blurred to give the algorithm a strong reference. If tracking slips, add a small manual adjustment keyframe at that frame and continue tracking to improve accuracy.
For complex motion or occlusions, combine small manual corrections with additional selections (draw another selection over the same subject) to reinforce the mask.
Using the lasso tool on tricky frames helps Premiere understand edges better.
5. Assigning the mask: opacity masks vs. effect masks
By default the tool creates an unassigned mask, which is useful when you want to do multiple things with the same selection later. To remove the background or create a matte, right-click the mask and choose "Change to Opacity Mask." Alternatively, you can assign the mask to an effect by dragging an effect into Effect Controls and the mask will automatically attach to that effect.
Invert the mask if you want the effect applied outside the selection instead of inside it.
Practical examples: blur and color grading
To create depth of field, assign the mask to a Gaussian Blur (or Gajian blur if you prefer) and adjust the amount until the background looks natural.
Inverting the mask lets you blur everything except the subject for a quick stylistic treatment.
You can also assign masks to Lumetri Color to grade only the subject or only the background. This gives creative control to subtly separate subject and scene color without nested sequences or heavy composites.
6. How to put text behind a person - a quick workflow
Want text to appear behind a moving subject? Put the text layer on a track below your video clip so it's visible through transparency.
Then duplicate the clip above the text and create an object mask on the top clip. After tracking, right-click the mask and change it to an opacity mask to punch a hole in the top clip, revealing the text underneath.
This single-track approach avoids nesting and gives you edit flexibility for both text and masked footage.
Actionable steps to place text behind a subject
- Duplicate the video clip and place the text layer under the duplicated clip.
- Select the top clip, use the Object Mask Tool to make and track the selection.
- Right-click the mask and choose "Change to Opacity Mask" to reveal the text underneath.
Adjust mask feather, expansion, and path keyframes in Effect Controls to tune how the text peeks out behind the subject. Animate the text layer separately for motion or reveal effects while the mask remains driven by the tracker.
This is an important aspect of the topic that deserves more attention. Understanding these details will help you master the concepts discussed.
7. Speed comparison: Premiere object mask vs After Effects Roto Brush
For simple tasks like text placement or a background blur, Premiere's object mask tool can take around 30 seconds total. That includes making the selection and letting Premiere track the clip, which is extremely fast for everyday VFX.
After Effects' Roto Brush is more precise and suits complex hair, motion blur, and detailed composites, but it can take many minutes to propagate and freeze frames before you can finalize.
Use After Effects when you need frame-by-frame rotoscoping fidelity.
8. When to use Premiere Pro vs After Effects
Use Premiere Pro V25.6 object masks for quick compositing tasks, editorial-friendly VFX, and motion graphics that must stay in the edit timeline.
It's perfect for titles, background blurs, and simple subject isolation without an export to another app.
Choose After Effects for advanced rotoscoping, detailed edge work, or when you need the full VFX toolset and pixel-level control. Roto Brush still has its place for high-end VFX where every frame matters.
9. Workflow tips and best practices
Always work on high-quality source media when you plan to mask or track, because compression artifacts make edge detection harder. For long clips, consider trimming to just the section you need to reduce processing time during initial tests. Save incremental versions and use nested sequences only when necessary; keeping edits in the main timeline lets you experiment faster.
If you use stock assets, integrate them directly inside Premiere for fewer context switches and faster iterations.
For a constantly refreshed and royalty-free stock library that plugs directly into Premiere, I recommend using a service like Storyblocks stock library so you can download B-roll, music, and templates without leaving your edit. This can speed up your tests and mockups when trying new masking techniques.
10. Common problems and fixes
If the mask drifts or loses the subject, add manual keyframes at problem frames and continue tracking from a reliable frame. You can also split the clip and create a fresh mask on the challenging section, then feather and blend the two masks for continuity.
If edges look too harsh, increase feathering and add a subtle mask expansion negative value to tighten the selection. For motion blur issues, try tracking on a less-blurred frame or add motion blur after the mask is stable to preserve edges.
11. FAQ: quick answers to common questions
Q: Does the Object Mask Tool replace After Effects? A: No - it complements Premiere by handling many day-to-day tasks faster. For high-end rotoscoping you'll still want After Effects.
Q: Can I use multiple masks on one clip? A: Yes - you can add multiple selections, union them, or subtract areas. Use the Alt key to remove parts and the lasso for tighter shapes.
12. Final thoughts and next steps
The Object Mask Tool in Premiere Pro V25.6 is a major productivity boost for editors, allowing fast, reliable subject isolation and integrated tracking inside the edit. It won't replace advanced rotoscoping, but it removes the need for many round-trips to After Effects for simple compositing tasks.
Want to learn more about advanced roto tools and see community tutorials?
Search for detailed Roto Brush 2 tutorials on YouTube to compare techniques and workflows across both apps: Roto Brush 2 tutorial results on YouTube. Try the tool in the Premiere Pro Beta, test masking on a few real clips, and integrate stock B-roll or music straight into your timeline to speed up iterations.
With these tips you'll be creating masked reveals, text-in-front/behind effects, and selective grades in minutes.
Jordy Vandeput
Founder of Cinecom · 2.75M+ subscribers on YouTube
Jordy Vandeput is a Belgian filmmaker who has taught practical filmmaking to millions through Cinecom. He breaks professional techniques down into clear, repeatable steps you can use on your very next project.






0 comments