Premiere Pro Easing Curves and 3 More Blinkl Tools
 Jordy Vandeput
14K views
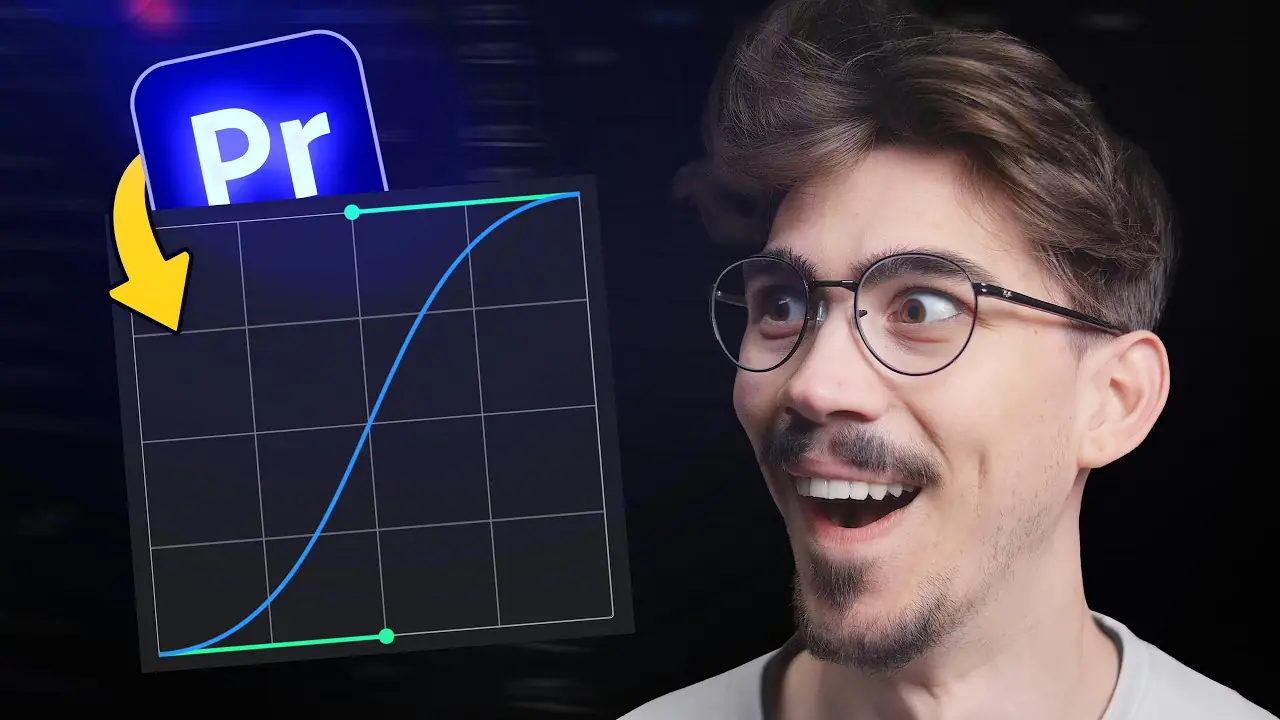
Premiere Pro easing curves cannot be saved and reused, so simple animations end up in After Effects. The Blinkl ring menu adds a curve editor, beat markers, clipboard pasting and text animation presets, all from Ctrl + right-click. Here is what each tool does and what it costs.
Premiere Pro easing curves stop at Ease In and Ease Out. There is no library where you save a curve you like and drop that same shape on your next animation. A plugin called Blinkl adds one. Hold Ctrl + right-click in the timeline, a ring menu opens, pick Smoothify, draw the curve, click Apply.
Three more tools sit in that same ring: beat markers, clipboard pasting, and a text animator for After Effects. Here is what each one does, and where it stops.
A ring instead of a panel
Hold Ctrl and right-click anywhere in Premiere Pro. A circle appears over your timeline, cut into segments, with Select, Back and Quit listed underneath. Each segment is a tool. Click it and the tool opens on top of your edit.
Blinkl calls its tools Blinks, and the picker lists fourteen of them. You decide which ones go in the ring. In the video above the ring holds two Smoothify entries: one opens the tool, the other is a sub-ring of saved curves.

Smoothify gives you Premiere Pro easing curves you can save
Start with what Premiere already does. Right-click a keyframe and you get Linear, Bezier, Auto Bezier, Continuous Bezier, Ease In and Ease Out. Expand the property and you can shape the Value and Velocity graphs by hand, which Adobe explains on its page about editing keyframe graphs. Copy a keyframe and its easing comes along, as long as you paste it on the same property.
That is where it gets slow. No preset library for a curve. No way to pull the handles of two properties at once. So editors open After Effects for an animation that should have taken thirty seconds. Before you reach for a plugin, it is worth knowing how to ease keyframes the way Premiere intends, because half the ugly animations I see are just over-eased.
Smoothify puts a proper curve editor inside Premiere. Here is the whole workflow:
- Select the clip that already has keyframes.
- Hold Ctrl and right-click to open the ring.
- Click Smoothify.
- Pick a preset such as Ease In Sine or Ease Out Quad, or drag the two handles into your own shape.
- Tick Position, Rotation or both, then hit Apply.

Now look at Effect Controls. Smoothify wrote a run of new keyframes between your originals, which is how it fakes a curve Premiere cannot store on its own. That is the trade-off. You can still nudge every one of those keyframes by hand, and the animation survives if you ever remove the plugin.
Save your own curve as a preset
Under the preset list sit Save as preset, Import preset and Open presets library. Name your curve, save it, and it joins the list on the left. The next title animation with smooth keyframes is one click instead of ten minutes of handle-dragging.
Build a ring of your favorite curves
Open the ring, go to the settings and choose Ring. The Assign to ring window lets you search Blinks, presets and actions. Select a segment to rename it or remove it, or click Create sub-ring to nest a second ring inside one segment.

At 1:40 in the video above there is a sub-ring called My Curves, filled with saved presets. One click on Ease In Bounce and a plain scale-up animation gets its keyframes. That is the part that actually changes how you work: the curve you built last month is two clicks away, in the timeline, where your hands already are.
Beat detector puts markers on every beat
Premiere Pro on desktop cannot find beats for you. The Remix tool analyzes a track, but only to retime it to a target length. Real beat detection exists in Premiere on iPhone, not on the desktop app. So you tap M along with the music and hope your timing was good.
Select the music clip first. Open the ring, click Beat detector, set it to Selected clips, then Analyze beat.

The review step draws the waveform with every detected beat on it. Grid mode switches between Fixed and Adaptive, Grid BPM shows the tempo it found (77.36 on this track), and Grid offset shifts every marker in milliseconds so you can line it up by ear. A beep plays while you listen, and it never lands in your sequence. On the forty second track in the video it found fifty-two beats. Click Place markers.

They are ordinary Premiere markers once they land. Snap your cuts to them and the edit sits on the beat.
AnyPaste drops your clipboard on the timeline
Take a screenshot, open the ring, click Paste Clipboard. The image is in your sequence. No save dialog, no import, no digging through the Downloads folder.

One thing to set up before you use this on real work: the file still has to live somewhere. Open the AnyPaste window, click Open Settings, and under Configure Export Settings either choose a folder or tick Export to project parent folder, which drops the file next to your project. Skip it and you are the one staring at Media Offline two months later.
The same window also takes a link. Paste a YouTube, Instagram or TikTok URL, press Insert, and it downloads straight into the timeline.
Text Animator is the After Effects half
The ring opens in After Effects too. Select a text layer, open it, and your text presets are right there. Word Pop animates the layer in one click. Rise & Settle staggers the characters. Switch motion blur on and it reads far better.

The Text Animator window has three tabs. Settings holds speed, energy and flow, plus a phase choice of in, out, both or sweep. Animations lists fourteen presets under Text Appearance, among them Typewriter, Type Carriage and Code Carriage. Decorations puts underlines, strikes and circles on top. Click Apply style and the animators land on your layer.
They land as real text animators in the timeline, so you can open the layer later, change the timing and keep working without ever going back through the plugin. Nothing is locked.
What it costs, and what it cannot do yet

Downloading Blinkl is free, and every plan starts with a fourteen day trial, no credit card. After that it is a subscription. At the time of writing, the Blinkl pricing page lists early bird pricing of 75 dollars a year for the ring plus one extension, and 99 dollars a year for all of them. It needs Premiere Pro 2024 or newer, on macOS 11 or Windows 10 and up.
Here is the limit the video does not mention. The ring opens in After Effects, but not every tool follows it there. Smoothify and Beat Detector both list After Effects support as a roadmap item on their own pages, so for now the curves are a Premiere job. If paying monthly for a tool is not where you are right now, these five free plugins for Premiere Pro cover different ground and cost nothing.
Whether it earns its place depends on what lands on your timeline. If you animate text, logos or stills every week, the easing presets alone pay for themselves within a month of normal work. Cut mostly interviews and talking heads, and you will open the ring twice before you forget it is installed.
Pick one animation and rebuild it. Shape the Premiere Pro easing curves you keep making by hand, save them as presets, and time how long the next title takes you. If you want the keyframing underneath all of this, not just the shortcut, my Premiere Pro course for advanced users walks through 2D animation from the first keyframe.
Jordy Vandeput
Founder of Cinecom · 2.75M+ subscribers on YouTube
Jordy Vandeput is a Belgian filmmaker who has taught practical filmmaking to millions through Cinecom. He breaks professional techniques down into clear, repeatable steps you can use on your very next project.





0 comments