How to Get a Film Look (Premiere Pro Tutorial)
 Jordy Vandeput
77K views
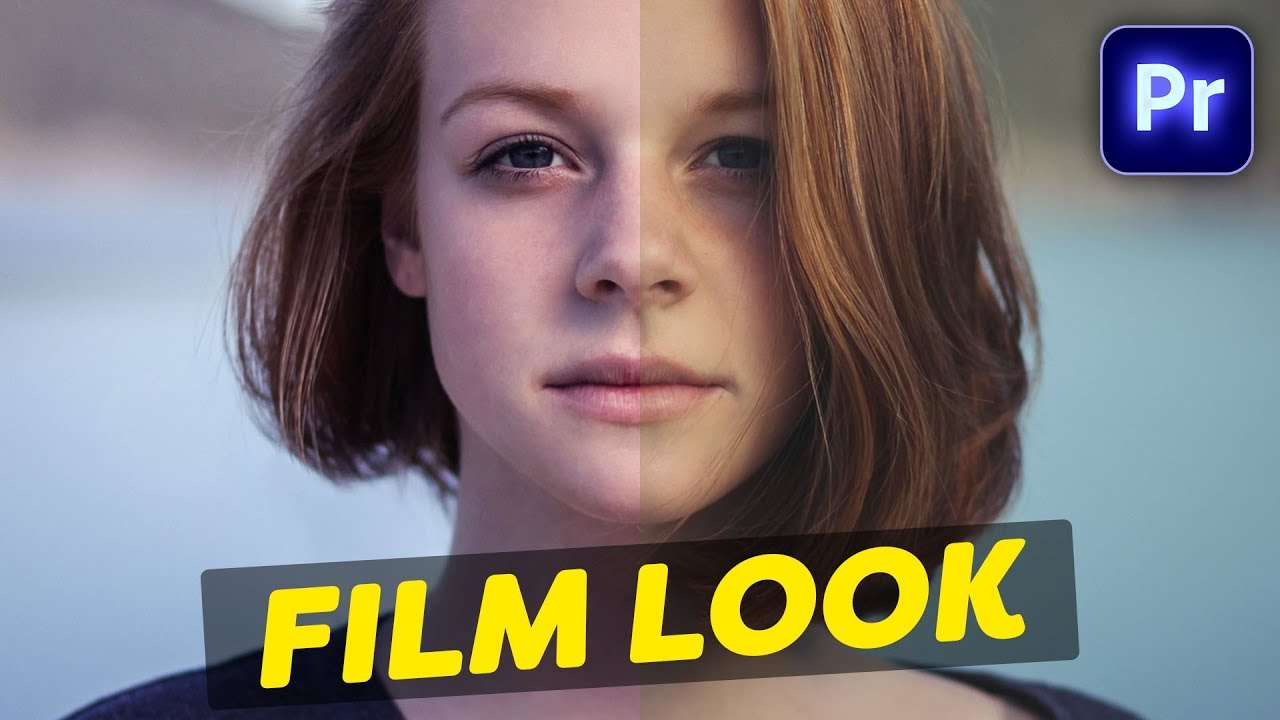
Learn how to color correct and color grade your footage with Filmconvert & the lumetri effect to get that film look in Adobe Premiere Pro.
How to get a film look in adobe premiere pro?
Color correction and color grading are probably one of the hardest things to do in the editing process. Everyone always tries to get a cinematic look. But only professionals talk about a film look.
What's the difference you might ask? Well a film look refers to the look and film of the old movies that were shot on film. There are actually three major components to getting a film look.
Contrast
Import to notice is the contrast, the dark parts of film are never pure black and the highlights are never pure white. To achieve such a look, open the lumetri color panel and use your curves to drag up the blacks and drag down the whites. This way you will also fake a bit more dynamic range but it will become more flat. To get more contrast, use the middle section of the curves to create a subtle S-curve. You will now have a nice roll-off. If the brightest or overexposed parts of your shot do look a bit grey, use the color wheels to add a bit of warmth to the highlights.
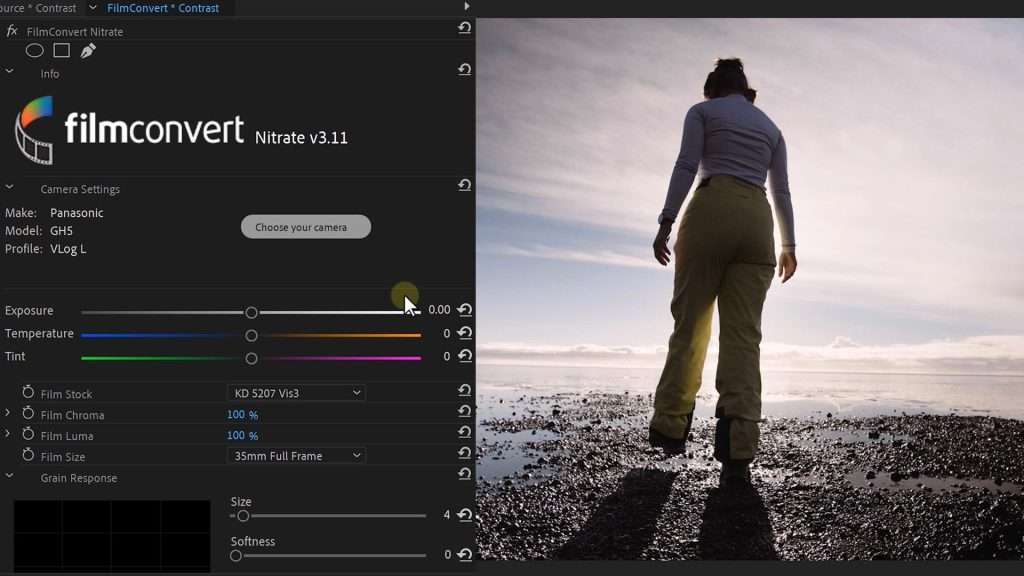
But there's another way to get this look, using the Nitrate effect by FilmConvert. It let's you choose your camera profile that you've shot with so all the changes will be applied to your camera profile which results in a way better look.
grain
The next component is grain. Grain is NOT noise. Noise are digital dancing pixels and grain are natural particles on your film. To add grain in Premiere Pro we have to use the noise effect. There are not a lot of parameters that we can change. I would recommend to disable the color noise and set a small amount like 10%. Another way is to download a stock clip of grain from the internet, put it above your video layer and blend it together. Both of these methods are free and simple but they don't look good because the grain doesn't interact with the footage.
Another way to add grain is with FilmConvert Nitrate, they have a whole bunch of film stock emulations that add grain and a slight color change to your footage. You can change multiple parameters of the grain and choose between different types of film. You will also see a curve where you can choose whether you want more grain in the highlights, shadows or only the brightest parts.
Digital Colors
Digital cameras have a problem with colors, they are with too sensitive to green and red. The red and greens are often way too vibrant and saturated. You often see this on skintones and when shooting in forests or on a field of grass. You can use the lumetri effect from Premiere Pro to make a selection of the color from the HSL Secondary tab and change the color from there. The green should be a bit more yellow, warmer and less saturated. The magenta should get a bit of green pumped in it to be more like a natural skintone.
Another way to color correct these colors is with the CineMatch effect from FilmConvert. Here you can do the exact same but more precise. And you can select a source color, add another image and use that as a target color. Which will change the colors of your footage to the ones of the target.
Jordy Vandeput
Founder of Cinecom · 2.75M+ subscribers on YouTube
Jordy Vandeput is a Belgian filmmaker who has taught practical filmmaking to millions through Cinecom. He breaks professional techniques down into clear, repeatable steps you can use on your very next project.







2 comments
Premiere pro
Hi